Before You Pour Paint into a Tray, Try This 10-Second Aluminum Foil Trick
"Don't waste time scrubbing dried latex or oil-based residue. This simple, heavy-duty DIY hack saves your tray, protects your plumbing, and cuts your painting cleanup time down to exactly zero seconds."
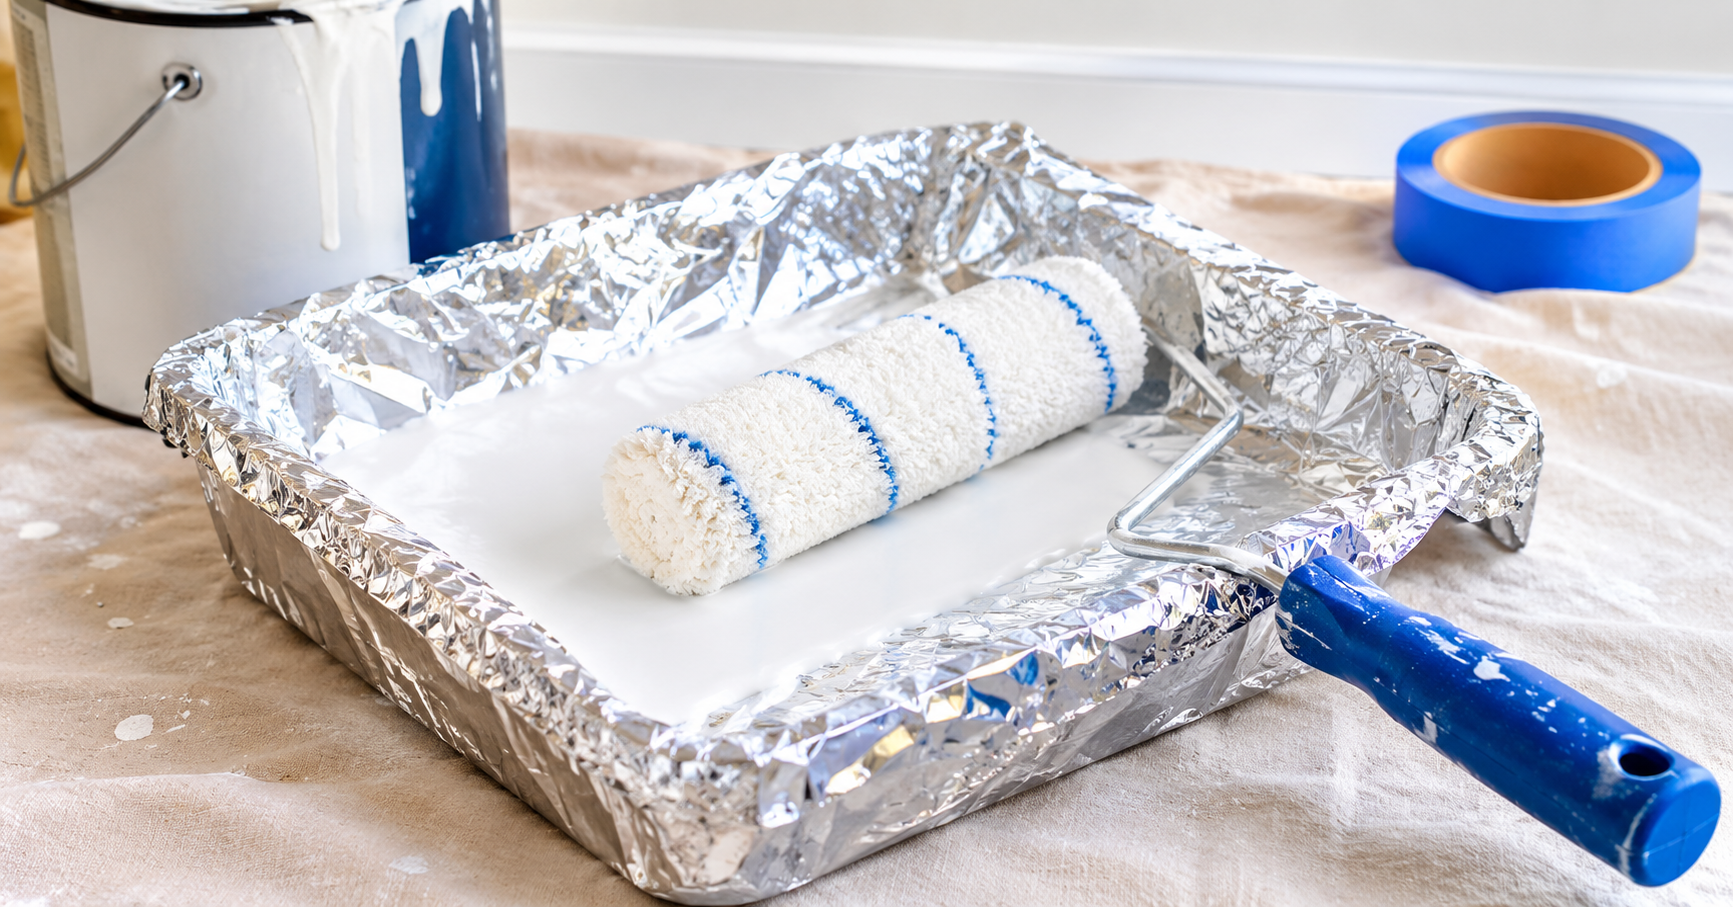
Before You Pour Paint into a Tray, Try This 10-Second Aluminum Foil Trick
Scraping dried paint out of a roller tray is one of the most tedious parts of any home improvement project. Lining your paint tray with heavy-duty aluminum foil creates an instant protective barrier that stops paint from sticking, cutting your cleanup time down to zero. Instead of soaking, scrubbing, and damaging your plastic or metal trays, this inexpensive trick lets you simply wrap, peel, and toss the mess away.
Data shows that room painting is the most popular home upgrade. According to U.S. Census data, 39% of all home improvement projects are entirely DIY, and 42% of homeowners plan to paint a room in the near future. While this quick hack won't apply the coats for you, it completely eliminates the post-project dread of cleaning equipment.
Putting Aluminum Foil Under Paint Before Starting a DIY Project: What It’s For and Why People Recommend It
The core purpose of putting aluminum foil under paint is to turn any standard, permanent roller tray into a custom-molded disposable system. Popularized by home DIY publications like Bob Vila and Southern Living, this method relies on creating a tight physical shield over the tray's bottom, corners, and textured loading ramp.
Beyond saving your sanity, this hack addresses a massive environmental issue. The Environmental Protection Agency (EPA) estimates that roughly 10% of architectural house paint purchased annually in the U.S. goes unused—amounting to over 750 million gallons. Leftover paint is the largest volume of material collected by local household hazardous waste programs.
When you line your tray with foil, it becomes significantly easier to tilt the basin and pour clean, unadulterated excess paint right back into the can before it skins over, drastically reducing household waste.
How to Line a Paint Tray with Aluminum Foil (Step-by-Step)
- Select heavy-duty aluminum foil instead of standard kitchen foil, as thicker metal sheets resist tearing under the pressure of a loaded roller.
- Tear a generous sheet that is noticeably larger than your paint tray to leave room for outer wrapping.
- Press the foil firmly into the deep end, smoothing it tightly against the bottom and side walls with your palms to remove air pockets.
- Mold the sheet over the textured roller-loading section, ensuring the foil conforms perfectly to the ridges without creating loose gaps.
- Crimp and fold the excess foil over the outside edges and handles of the tray so the temporary liner cannot slide or shift.
- Check the corners carefully for any visible seams or punctures, smoothing them down to prevent paint from sneaking underneath.
- Pour in a controlled amount of paint, keeping the level well below the outer rim to avoid spilling over the metal edges.
- Load your roller using light, even pressure so you don't puncture the liner against any sharp plastic edges.
- Lift out the foil packet smoothly once you finish painting, folding the edges inward to trap the mess before disposing of it.
Aluminum Foil vs. Commercial Liners vs. Bare Tray
| Protection Method | Pros | Cons | Typical Cost |
|---|---|---|---|
| Aluminum Foil Liner | Extremely cheap, readily available in kitchens, perfectly molds to any unique tray shape. | Can tear if pressed too hard; requires careful manual fitting. | Extremely Low (Pennies per use) |
| Commercial Disposable Liner | Rigid plastic, custom-molded to fit specific brands perfectly, highly durable. | Requires an extra trip to the hardware store; only fits one exact tray model. | Medium ($1.00 – $3.00 each) |
| Bare Paint Tray | No initial preparation required, zero plastic/metal packaging waste generated. | Requires immediate, messy scrubbing; dried latex can permanently ruin the tray's texture. | Free (But costs valuable time) |
The Cleanup Reality: Water-Based vs. Oil-Based Paints
The type of coating you choose changes the stakes of cleanup. Industry standards from manufacturers like Purdy emphasize that your cleaning strategy must match the paint's binder.
- Latex & Acrylic (Water-Based): These paints dry into a plastic film. While wet, they can be rinsed with warm water and a drop of dish soap. If paint leaks past your foil and dries, you can gently flex a plastic tray to crack the layer and peel it off in sheets.
- Alkyd & Oil-Based: Water will not dissolve these coatings. They require harsh chemical solvents like mineral spirits or paint thinners. Cleaning oil-based paint directly in a household sink can ruin your plumbing traps and contaminate local water systems. Using a heavy-duty foil liner is strongly recommended for oil-based projects to catch the sludge so you can throw it away safely without rinsing toxic solvents down the drain.
Responsible Paint and Foil Disposal
Never pour liquid paint down a residential drain, toilet, or backyard storm drain. For small amounts of leftover latex paint, paint stewardship programs like PaintCare recommend mixing the liquid with an absorbent material like cat litter or sawdust, letting it dry completely into a solid block, and then disposing of it in accordance with local sanitation rules.
Oil-based paint requires strict handling. It should never be left to evaporate openly because its fumes are both toxic and highly flammable. Always seal leftover oil-based products and take them to a designated household hazardous waste (HHW) facility or community collection event.
The Bottom Line
Before you pour a single drop of paint for your next room refresh, grab a roll of heavy-duty foil. Taking ten seconds to mold a metallic shield over your roller tray will save you from an hour of miserable scrubbing at the utility sink. It is a minor preparation step that transforms one of the worst home improvement chores into a simple, hassle-free cleanup task.
Related stories

Who Has to Rake the Leaves Between the Sidewalk and the Street? What City Rules Actually Say
The curb strip is usually public land, but many US cities make the neighbouring owner or tenant keep it clear. Here is what real city codes say, and why leaves shouldn't go into the street.
Sophie Laurent · · 5 min read

How to Zone an Open-Plan Room So Every Space Has a Purpose
Open-plan spaces often feel unfinished. Here is how to use furniture, rugs, light and walkways to create clear zones without building a single wall.
Elena Rossi · · 5 min read
Biophilic Design Is Here to Stay. Here's How to Bring It Home
Biophilic design connects interiors with nature. Our design editor explains the principles and how to apply them in any home.
Sophie Laurent · · 7 min read